
Paperwork.
It’s the bane of our modern existence. From legal and finance to administration and HR, every aspect of our workplace involves some sort of form-filling, printing, copying, and scanning. We’ve even invented shredders purely to take care of these piles of paper.
And even as new digital solutions enter the market every day, paper usage in the U.S. is expected to increase through 2023.
The problem is that while companies can see the benefit of going digital, they’re often faced with the daunting task of making that transition.
So it’s easy to stick to what you know. Even if it can save millions of dollars for larger organizations.
But it doesn’t have to be that way. Converting business processes to automated digital workflows can be a simple step that produces incremental changes rather than an exhaustive effort requiring you to go through bureaucratic hoops and headaches.
We’ll give you a step-by-step guide on how.
What is a digital workflow?
A workflow is simply a term that refers to a series of steps you need to perform in order to get something done. Here’s an example:
Objective: Collect permission slips from parents for an upcoming field trip.
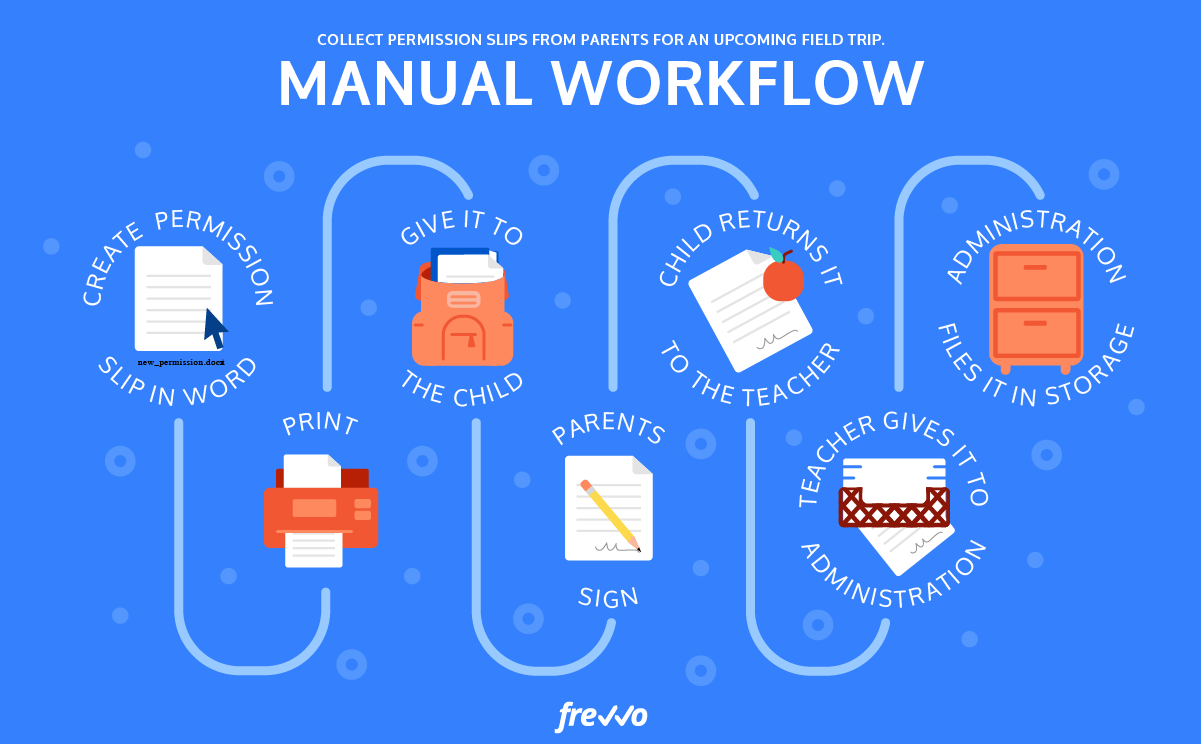
The manual workflow might contain several steps:
- Create the permission slip on Word
- Hand it to the child
- The child hands it to the parents to sign
- The child returns it to the teacher
- The teacher hands it over to the school’s administration
- Administration files it in storage
Not only are these a lot of steps, but each step along the way is a manual process—7 bits of work in total. Each one could be forgotten, overlooked, or done incorrectly.
That’s a lot of room for error.
When you turn this manual workflow into an automated digital workflow, it’ll look more like this:
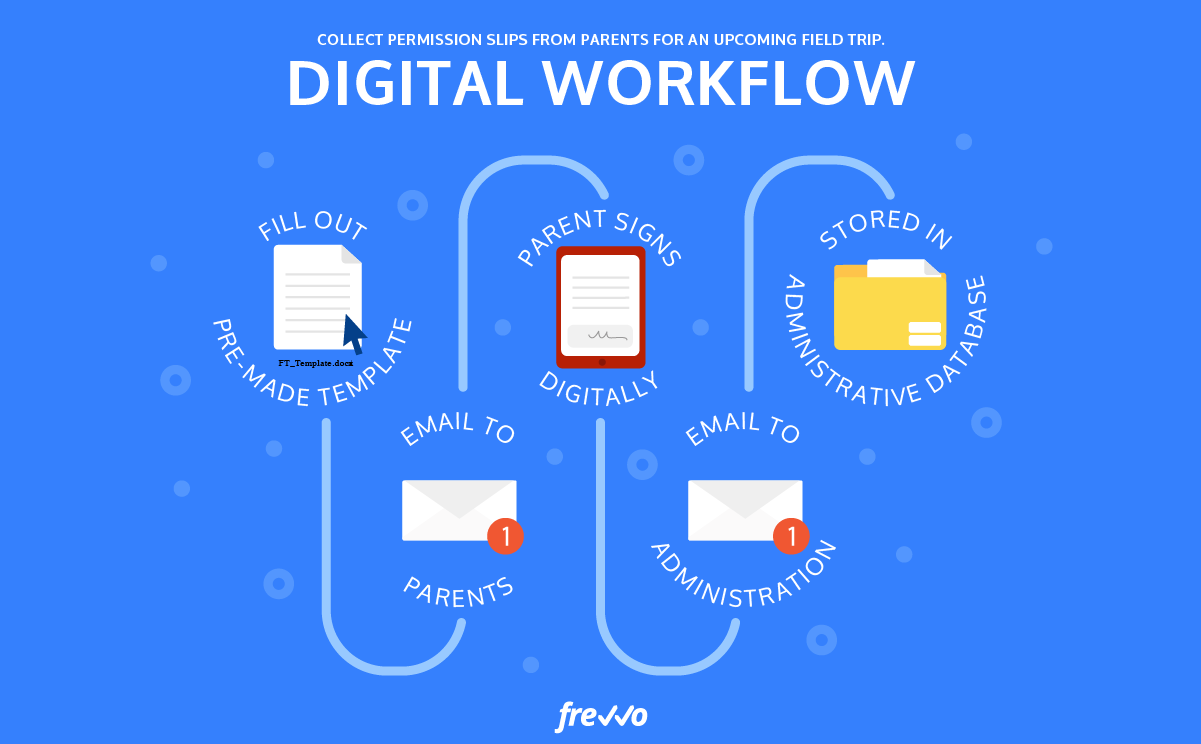
The digital workflow looks a bit simpler:
- Fill out relevant details on a pre-made or stored template
- Email form directly to parents
- Parent signs it using a digital signature
- Signed form gets automatically emailed to teacher/administration
- Form gets stored on the administrative database.
Not only has the process been reduced from 7 steps down to 5, but 2 of those tasks are now automated by the workflow itself—leaving just 3 tasks for humans to complete!
Digital workflows take place entirely on the computer. They’re often faster and involve less effort, especially because of automation.
When a process is automated, it means there’s no need for a human to perform it. In the above scenario, there are three automated processes:
- The computer fills out the details you need (such as today’s date, email addresses, names of the children, etc.) using previously saved information on the database.
- Once the form is signed, it’s automatically emailed to the relevant parties, eliminating the need for a person to physically hand it over.
- The signed form is safely stored on the database, so someone doesn’t have to manually file it into a storage cabinet.
The benefits are obvious. It saves time, space, hassle, money, and even the environment. But how exactly can you make that happen for your specific needs?
How to switch to automated digital workflows
Not every workflow is a priority for digitization. Depending on your internal processes, some will be more complex to automate. Others may not be so time-consuming that people see the need to switch to digital.
That’s why it’s important to start by examining and evaluating your existing workflows.
Perform a workflow audit
A workflow audit is helpful when you want to do a health checkup on the state of your current processes. It’s also essential if you’re looking for the perfect candidate for digitization.
There may be processes creating bottlenecks that you weren’t even aware of. Or what seems complicated could actually be very simple if performed digitally.
If you can identify these processes and digitize even one of them to prove its effectiveness, it’ll be easier to get the green light to migrate other workflows.
The goal: To choose a workflow to digitize first.
Step 1: Identify your pain points
Gather up a list of workflows that use up unnecessary resources and create delays. These are the best processes to automate as they lead to immediate, noticeable improvements.
Step 2: Consider technical complexity
Once you have those workflows you want to improve, think about whether it would take up a lot of time and resources to build out a digital solution. If this is your first time migrating to a digital workflow, you’ll want to pick a process that’s simpler to automate.
Some examples of manual workflows that make good candidates for automation include:
- Highly repetitive tasks like data entry
- Tasks that involve numbers and calculations that are prone to human error
- Forms that need signatures and approvals from multiple parties
- Areas where it feels like employees are being dragged away from more valuable work
Step 3: Evaluate priorities
Now consider which workflow improvements among the above are your top priority. Which processes would benefit most from digitization? Would digitizing this workflow lead to immediate results? Will it save a great amount of time and money?
Create a roadmap
Now that you’ve identified a workflow to migrate to the digital space, it’s time to plan how you’re going to make the transition. Without this step, you could miss out on making the experience smooth for everyone involved.
Communicating is key. So is research.
The goal: Ensure a smooth transition.
Step 1: Use a workflow map
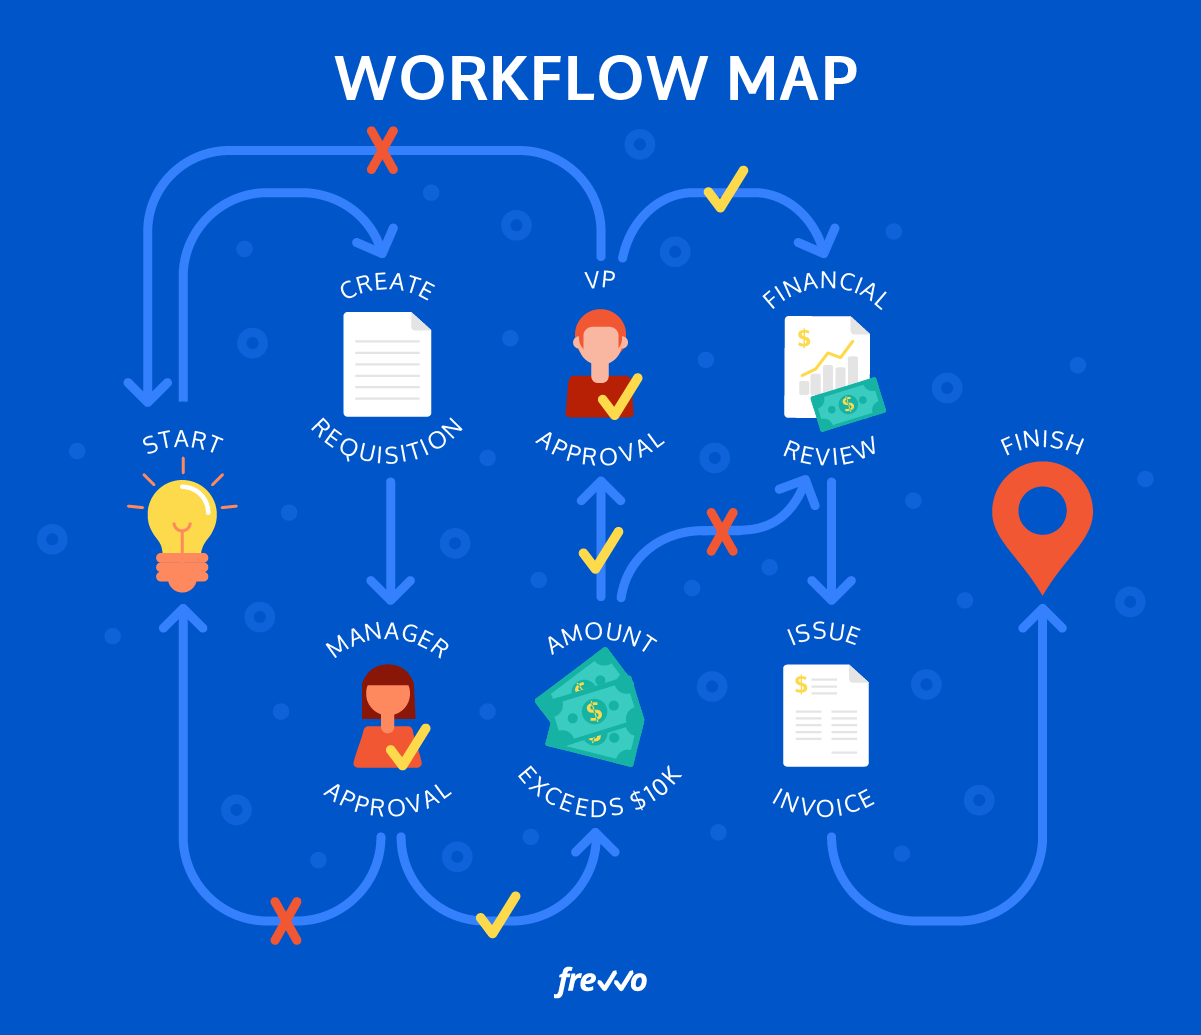
A workflow map, or a flowchart, is simply a visual representation of the specific processes within a single workflow. Taking the time to create this can lead you to spot problem points and make sure everyone is on the same page about the work.
However, rather than designing a diagram on PowerPoint which you then have to export into a PDF with accompanying instructions for understanding the workflow, you can use smart visual workflow software that gives everyone access to the visual workflow.
It will also help you design a digital workflow that will ease any pain points you identify and clarify the process to automate certain tasks.
Step 2: Talk to your team
At this stage, it’s important to define roles and responsibilities for each step in the workflow. Gather input from everyone on the team to see if there’s something missing or if there’s something that won’t work on the map.
Being clear about your intentions behind converting the workflow to digital is also a sign of good leadership. Talk to people about why this would be beneficial for them and how you plan to run training sessions to put them at ease rather than put them off by making it sound like “just more work.” You want to get them excited, not intimidated.
Step 3: Research use cases
Here’s one bit of good news. The process you’re trying to automate has probably already been automated by someone who was going through a similar problem. Learn from their example to see how you can pull off the transition.
For example, are there forms that are so tedious to fill out that they’re never completed properly, or if they are, ridden with errors? Safeway had this exact problem, so they converted to a digital workflow using e-forms only. The result? Millions of dollars saved in development and accurate forms completed on time.
Or take a look at how Princeton University has set up its knowledge base to help the community use its chosen digital workflow solution.
Design and deploy
By now you should have a good idea of what you want the solution to look like and what it needs to do. When choosing or creating a solution, consider the following:
- Does it require a lot of technical knowledge to use, or can anyone pick it up?
- Is it specifically designed for workflow automation, or are the features more limited?
- Does it offer solutions for multiple areas of the business?
- Can you use it to digitize other workflows in the future?
The goal: Implement a solution that works for your specific needs.
Step 1: Choose a workflow solution
Your solution should be simple enough to use that there won’t be a steep learning curve when you’re figuring out how to create a workflow. The last thing you want to do is to create more processes to implement a process. The point here is to make things easier for everyone.
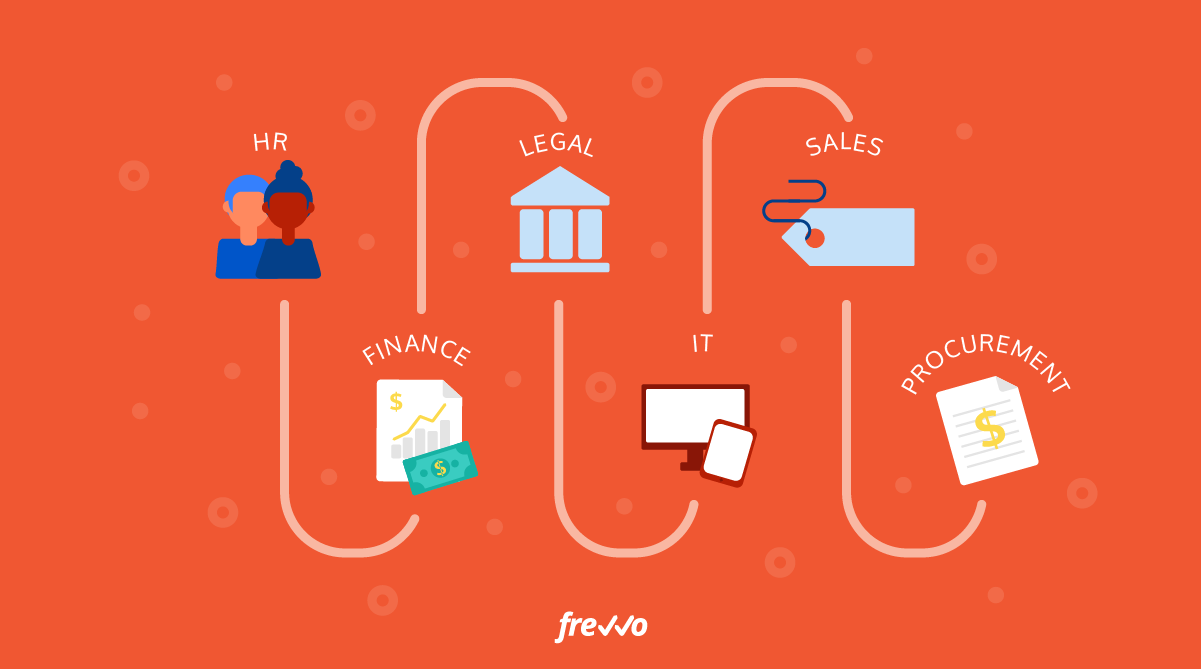
Because this is just the first step to moving your business to a digital workflow, think about how your solution can be used in the future to digitize other processes you’ve identified earlier. Simple workflow software will often cover many areas of an organization––from sales and marketing to HR and finance.
Step 2: Set your workflow KPIs
Besides improving processes, what are the specific KPIs you want to track with the new digital workflow? Defining objectives from the get-go will help you measure the right metrics and help you convey them to your team.
Some examples of KPIs for a digital workflow:
- What are the cost savings?
- How is it affecting productivity levels?
- Is it improving data accuracy?
Beyond just setting KPIs, you’ll also want to decide in advance how you’ll measure those figures.
For instance, if you’re evaluating a workflow solution based on its ability to save time for your team, then perhaps you’ll look at Joe and Jane’s timesheets each week to see how many hours they’re spending on a particular task. If the work if effective at reducing the time being spent, then you should see an associated reduction in hours clocked.
Step 3: Run a beta test
Before doing an official rollout––particularly when you have a larger team––try out your digital workflow with a smaller number of people.
Gather their feedback, see what’s working and what isn’t. Use this process to smooth out any last-minute wrinkles.
Step 4: Roll out
Finally, it’s D-Day. Now it’s all about communication and more communication. Run workshops or training sessions to help people ease into the new process.
Evaluate the experiment
You’ve rolled out the digital workflow but the work doesn’t end here. If you’re planning to digitize other processes, you’ll want to learn as much as possible from this first experiment. Since you’ve already set your KPIs early on, analyze the results of the transition using the data.
What worked? What didn’t work? What could be improved? Did you achieve your objective?
Once you can see the obvious ROI of your work, it’ll be easier to implement further digital workflows throughout the organization.
Rinse and repeat
Hopefully, your experiment was a success with measurable cost savings and improved productivity. Now you can repeat this process to build digital workflows for multiple processes and set yourself on a path toward continued growth.
To learn more about how to convert your business to a digital workflow, download our whitepaper on visual forms and workflow automation.