Employees spend an estimated eight hours a week working inefficiently. Things like reworking a task and searching the web or intranet for information take time away from important work.
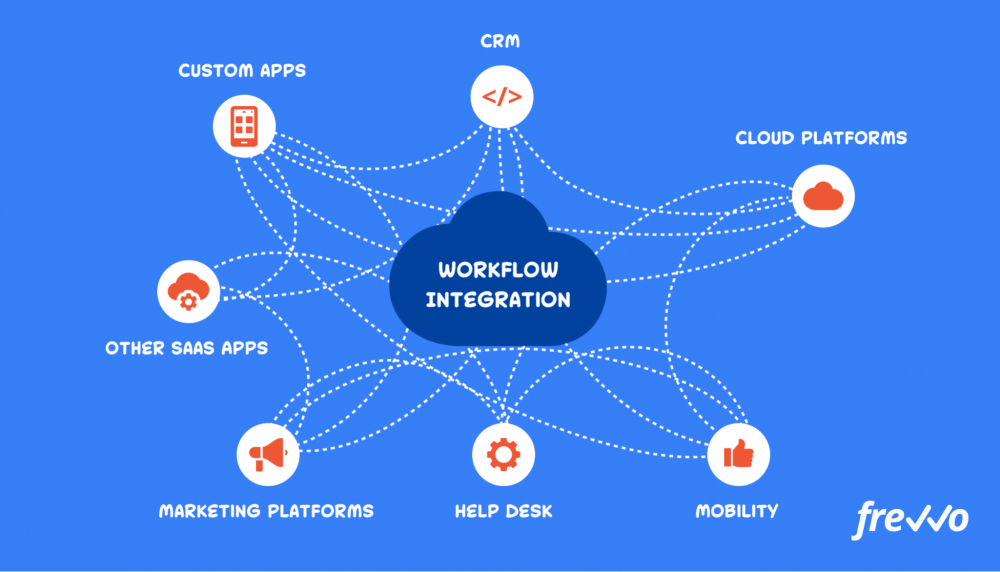
As a result, more companies are undergoing digital transformations. They’re turning to solutions like workflow software and robotic process automation (RPA) — using software “robots” to perform basic and repetitive tasks.
If you’re not already leveraging these solutions, you’re missing out on opportunities to boost productivity across the board.
In this article, we’ll look at how workflow automation can help you manage and advance automation initiatives at your company. We’ll also look at automation initiatives that you can get started with today.
Click the links below to jump ahead:
Continue reading “How Workflow Software Helps You Manage Automation Initiatives”